Tutorial 0: Hello LUIDA
Around 15 min. Walk the LUIDA data flow (Unity → Cluster → Web Console) end-to-end. Register a test experiment, link it to Unity, test it, and verify the collected data.
| Time | Around 15 minutes |
| Prereqs | Setup complete through Log in to Cluster from Unity, Web Console account approved. CSEmulator optional (see Step 4) |
| Starting asset | Assets/_Experiment_/Scenes/Sample/ProteusSample.unity (finished sample; just run it) |
| End state | You've watched data flow end-to-end. Zero scene files have been edited |
What you'll do
1. Open ProteusSample.unity in Unity                        (1–3 min)
2. Register a test experiment + a VEQ questionnaire           (3 min)
3. Paste the Experiment ID into Unity                         (1 min)
4. Upload to a Cluster test space; walk through two trials  (3–5 min)
5. Verify the session ran (Unity Console, if using CSEmulator) (1 min)
6. Confirm the uploaded data in the Web Console               (3 min)
Step 1: Open the ProteusSample sample
Open the project from Unity Hub
Launch Unity Hub and click Open. Pick the unzipped Implementation Template directory and confirm with Open again.
Wait for the asset import to finish (around 30–90 seconds the first time).
Open ProteusSample.unity
In the Project window, navigate to Assets/_Experiment_/Scenes/Sample/ and double-click ProteusSample.unity.
Step 2: Register a test experiment on the Web Console
If you already registered an experiment in Setup → Connect to Console, reuse it and skim this step.
Create the experiment
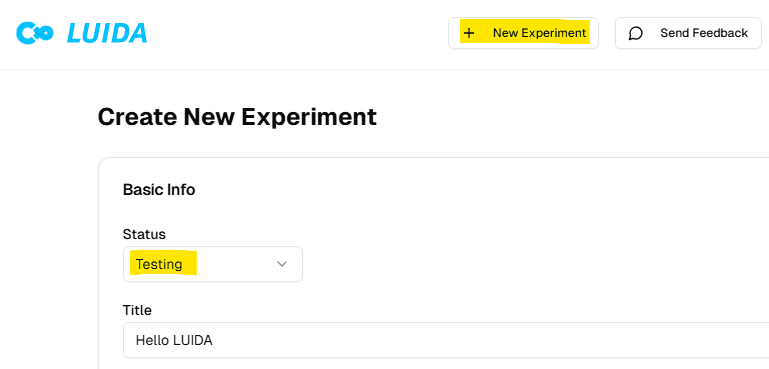
Sign in at luida.cluster.mu/experiments and click + New Experiment.
- Title:
Hello LUIDA - Room capacity:
1 - Status:
Testing
Save. The experiment detail page opens.
Add the VEQ questionnaire
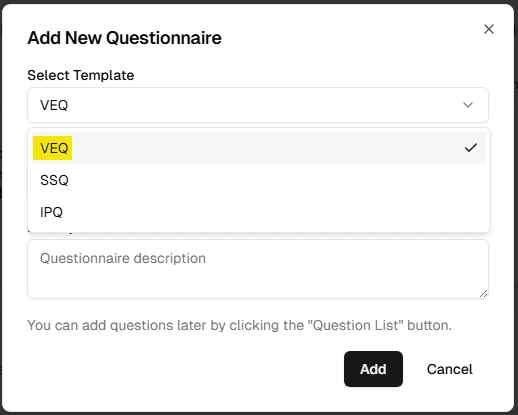
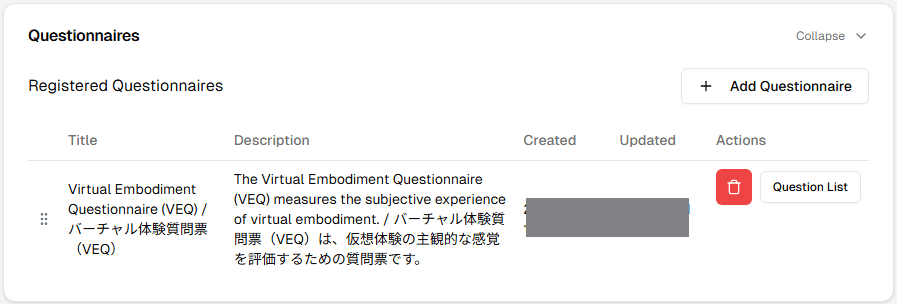
On the experiment detail page, find the Questionnaires section and click + Add Questionnaire. In the Template Selection dropdown, pick VEQ and click Add. The sample shows this VEQ after each trial.

Note the eID
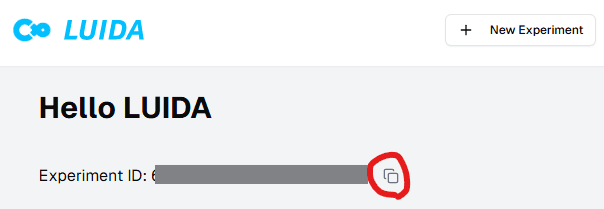
The eID is shown at the top of the experiment detail page. You'll paste it into Unity in Step 3.
Step 3: Link the experiment to Unity
Unity menu: LUIDA → Configure experiment identifiers. Paste the eID from Step 2 into the Experiment ID field and leave Number of Participants at 1. Close the window when you're done.
(If the window still shows the Cluster login screen, finish Setup → Log in to Cluster from Unity first.)
Step 4: Run the sample
Two ways to run this.
- A. Cluster test space (always works). Upload
ProteusSample.unitywith Cluster's upload tool to a private Cluster test space (Japanese walkthrough) and join it. - B. Unity Play mode. Faster, but requires CSEmulator. Without it, pressing Play draws the scene but executes no ClusterScript: no questionnaire, no upload, no Console output.
Start the session
In a test space: with ProteusSample.unity open, choose Cluster → UploadWorld from Unity's top menu, press Create World, fill in a title and an image, and press the Upload as Beta… button. Then open cluster.mu/account/contents/worlds, find the world you just uploaded, and join it. Keep it private; don't turn it public on cluster.mu. (The same upload flow is shown with screenshots in Tutorial 2 → Upload to Cluster.)
In Play mode: click the ▶️ button on Unity's top toolbar.
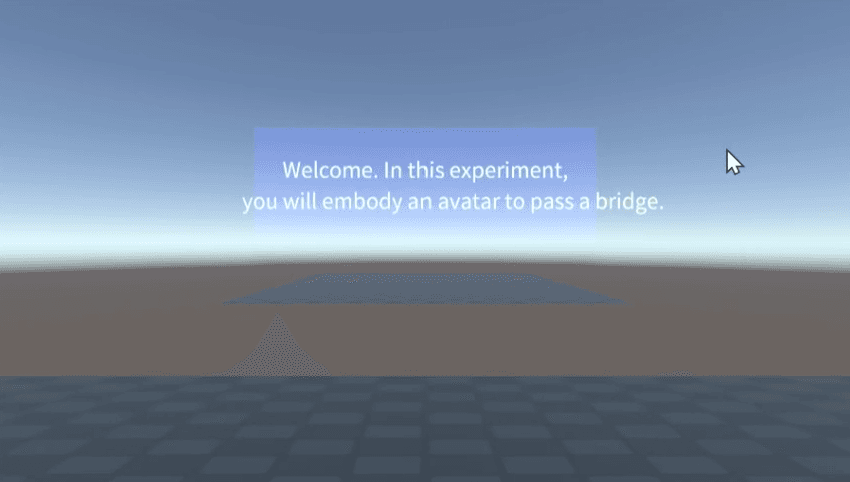
Either way, you start in the player's perspective with a welcome message.
Walk through two trials
What you'll see:
- The welcome message disappears automatically after ~5 s.
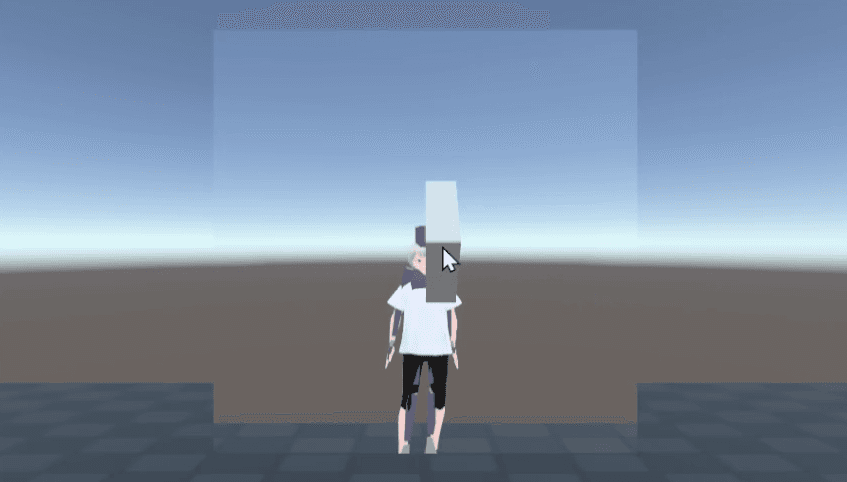
- Trial 1. A mirror appears with one of two avatars (
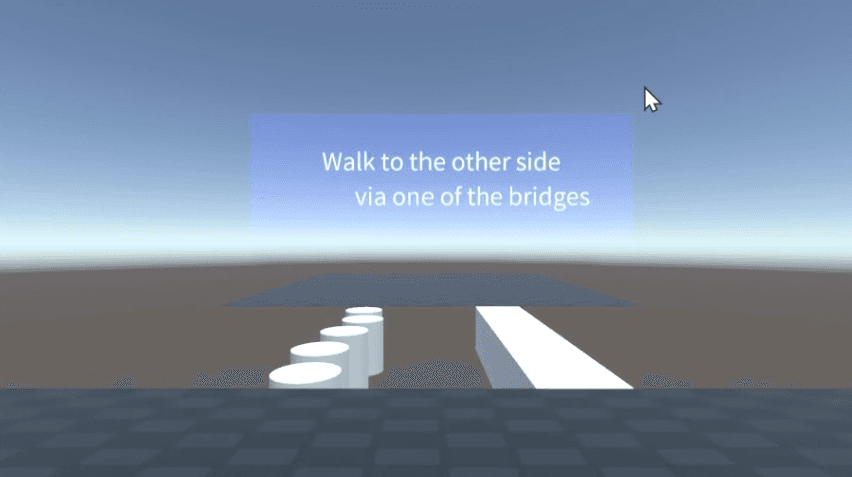
elderoryoung) embodied as you. It stays for ~10 s. - The mirror hides; two bridges appear. Walk across either one (use WASD on the keyboard, or your usual Cluster movement controls).
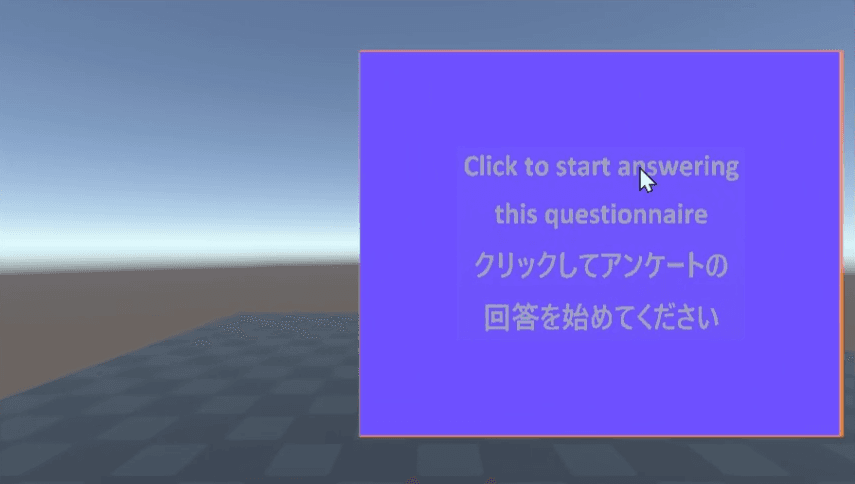
- A questionnaire prompt appears at the far end. Click it, answer each VEQ item on the 1–7 scale, and submit.
- Trial 2. You're returned to spawn and embodied as the other avatar. Same flow: mirror → bridges → questionnaire.
- After both trials a portal appears. Session done.
If something doesn't behave as described, see the troubleshooting section.
The screenshots below were captured in Unity Play mode; a test space looks the same apart from Cluster's own UI.
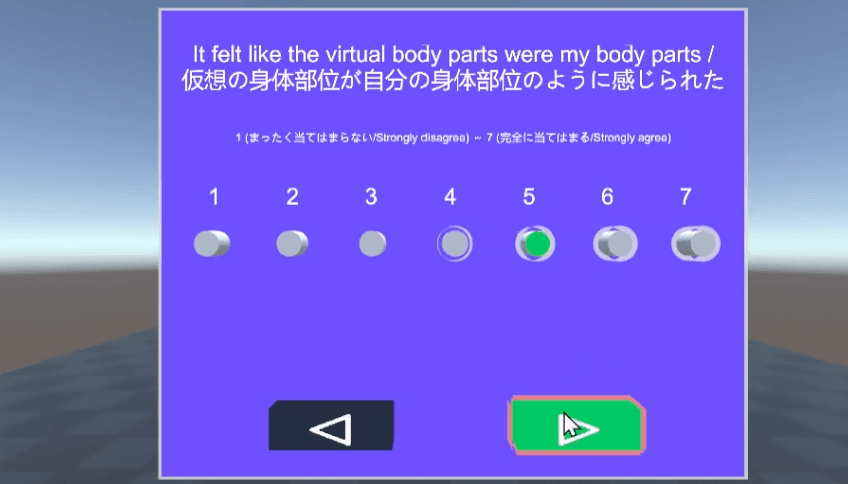
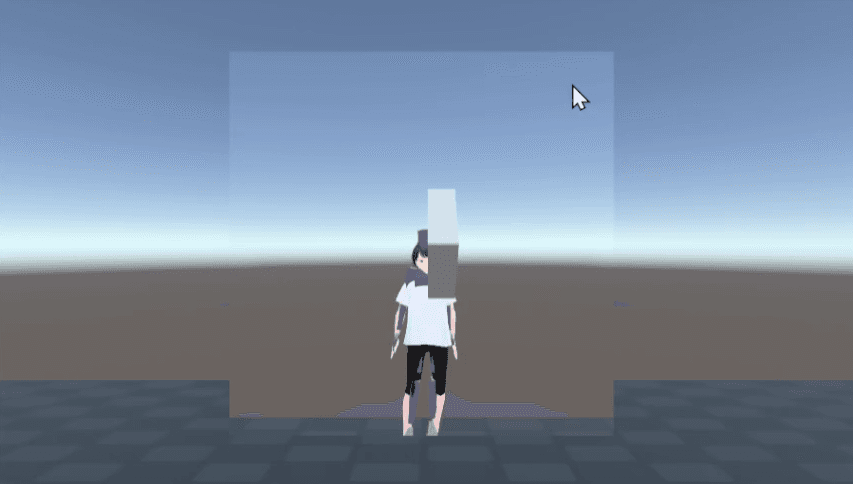
Once the portal appears, the session is over. In a test space, just leave the world. In Play mode, click the ▶️ button on Unity's top toolbar again to stop.
Step 5: Check the Unity Console (Play mode only)
Ran the sample in a test space? There's no Unity Console to check, so skip to Step 6.
Open the Console (Window → General → Console if it isn't open). During Play you should see request JSON lines for each questionnaire submit (×2) and one final uploadCustomData carrying both trial rows:
{
  "type": "uploadCustomData",
  "token": "<token>",
  "data": {
    "data": [
      { "stateLog": "...", "avatar": "elder", "bridge": "safe" },
      { "stateLog": "...", "avatar": "young", "bridge": "danger" }
    ]
  },
  "eID": "<eID>",
  "sID": "<sID>"
}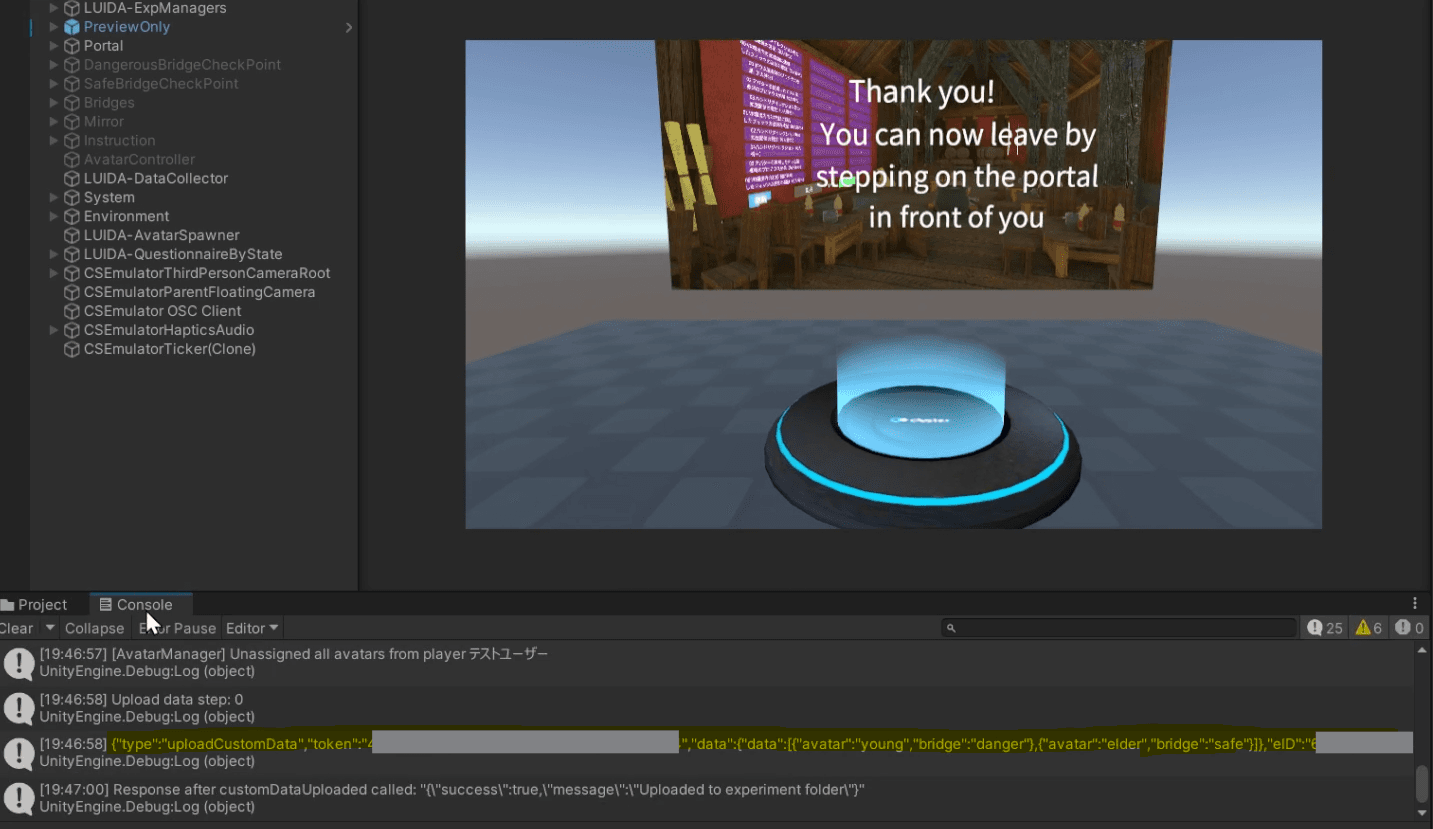
If you see the uploadCustomData line, sending is fine. Red logs with Unauthorized or NotFound mean the request failed. See the troubleshooting section.
Step 6: Confirm the uploaded data on the Web Console
Open the Web Console
Sign in at luida.cluster.mu/experiments and open the detail page for the experiment you registered.
Scroll down to the Answers section
Scroll to the Answers section at the bottom of the page.
Check the saved answer / data
Two kinds of records should be there:
- The regular questionnaire. Two new rows, one VEQ submission per trial.
- Custom Log. Two new rows, one per trial, each with
avatarandbridgefields.
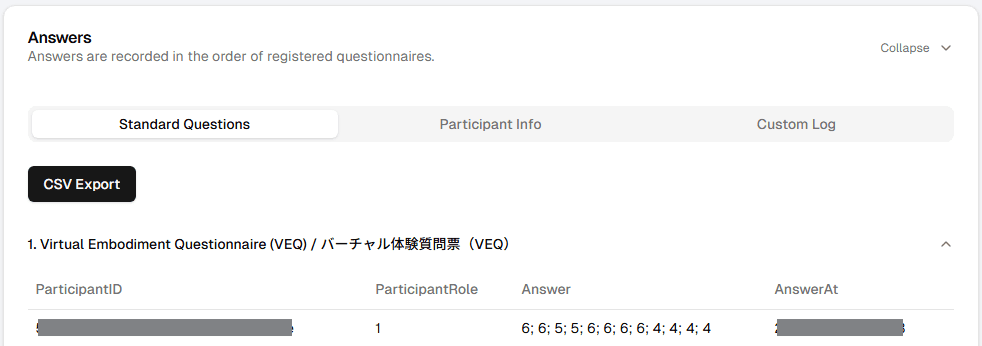
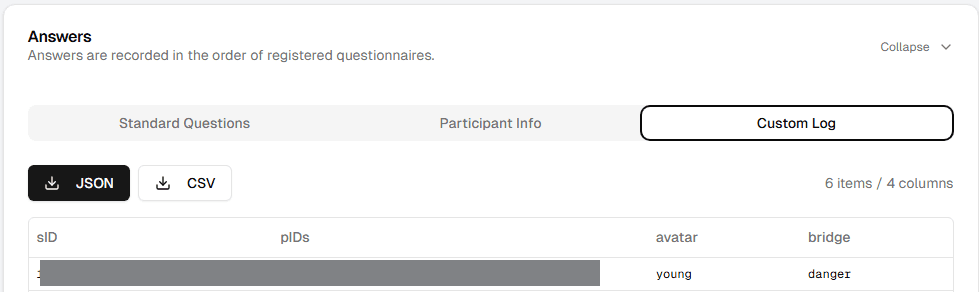
Participant Info won't gain a new row from this run. Both a Cluster test space and Unity Play mode mark the session as a test; that section only populates when a real participant joins on the published Cluster world.
If both records are there, Hello LUIDA is a success. Well done.
Common issues
"I started the session and nothing happens: no questionnaire, no data."
- In a test space, first re-check the eID binding from Step 3 (
LUIDA → Configure experiment identifiers) and re-upload. - In Play mode, this almost always means CSEmulator isn't installed. Unity draws the scene but runs no ClusterScript. See Setup → Install CSEmulator (optional).
"The questionnaire never appears."
- Confirm the VEQ template was added for this experiment (Step 2).
- Verify the scene's Hierarchy has a
LUIDA-QuestionnaireByState > Trial - RestGameObject. - If you're in Play mode, scan the Unity Console for errors.
"The Console shows an Unauthorized (401) error."
- Open
LUIDA → Configure experiment identifiersand click Refresh Token & Endpoint ID to re-sync.
"The Console shows a NotFound (404) error."
- The Experiment ID is wrong. Compare what's in
Configure experiment identifiersto the eID on the Web Console.
"The Configure experiment identifiers window still shows the login screen after I clicked Login."
- Re-issue the access token at cluster.mu/account/tokens and paste it again. The Unity Console will log the underlying error.
"I see the data in the Unity Console but not on the Web Console."
- The Web Console may be filtering by date or by test sessions. If
uploadCustomDatalines are present with no error logs but rows still don't appear, contact the LUIDA team.
What's next
You've watched the data flow end-to-end. Time to actually build.
- Tutorial 2: Proteus Effect (with LUIDA automation) (~75 min): your first hands-on build. Constructs a bridge-choice study on LUIDA's variables, state machine, and state-listening items.
By the end of the tutorial, your scene will behave the way the ProteusSample.unity sample did.
If something didn't work and you're stuck: revisit Setup, then email luida@cluster.mu with what you tried.